Property what? Yes, you are reading right. There isn’t a typing error in the subject of this blog post. This is actually the last missing piece to finalize this series of blog posts about property promotion that supports one of my recent whitepapers about BizTalk Message Context Properties.
Property Promotion is a pretty known subject for people that work in Microsoft BizTalk Server 2020. Everybody with minimum BizTalk knowledge knows what property promotion is. However, Property Demotion is not that well known because it is kind of an unknown feature and is not used often. To be honest, in more than 16 years working in BizTalk Server, I never needed to use it, but not using it and not knowing that it exist are two different things, and personally, I like to know all these little features.
So, today in this blog post, we will be providing step-by-step instructions for you to implement and try Property Demotion capabilities in BizTalk Server.
Recapping:
- Property Promotion, let’s ignore for now distinguished fields, is the process of getting values from different places like runtime, adapter, or content of the messages itself and adding them to the context of the message.
- These values are accessed through all phases of the BizTalk message processing, either in orchestrations or custom code, routing (receive and send ports), and pipelines.
But what is Property Demotion?
It is the opposite of Property Promotion. Property Demotion is the process of taking message context data and putting it into the content of the message. This is typically done in the Send Pipeline.
Note that:
- If you use a pass-through pipeline, your properties will not be demoted. They are only demoted using the XML Assembler component.
- Only values in the message context can be demoted.
How to implement Property Demotion
For demoting values into your message, you actually need to set the values to be promoted in your messages. Still, this time on our output messages – usually, we set these values in our input messages to promote the values.
In order to address all scenarios, we are going to demote on this exercise:
- A custom-promoted property called SubmissionDate that we are going to promote in a receive pipeline.
- This property contains the DateTime where the original message was received

- An out-of-the-box promoted property, which could be anyone that exists in the context of the message – it does not need to be promoted, but it must exist in context!
- We choose to use MessageType property.
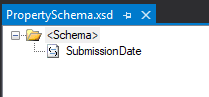
The first step we need to do is to add a Property Schema to our project that contains the custom property that we are promoting in our receive pipeline.
- In Solution Explorer, right-click a BizTalk project, point to Add and click New Item…
- In the Add New Item dialog box, in the Templates section, select the BizTalk Project Items and then click Property Schema.
- In the Name box, type a name for the schema, and then click Add.
- Add one element called SubmissionDate by right-clicking on the Schema node, Insert Schema Node > Child Field Element.
Now, our solution has two schemas:
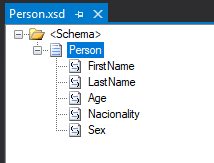
- The inbound schema: Person.xsd that is composed of this simple structure:
- And the outbound schema that is the Registration.xsd that is composed of the following structure:
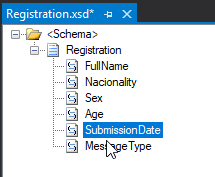
Notice that the last two elements: SubmissionDate and MessageType are the elements where we want to apply this Property Demotion strategy.
So the second step is to “promote” these elements. To do that, we need to:
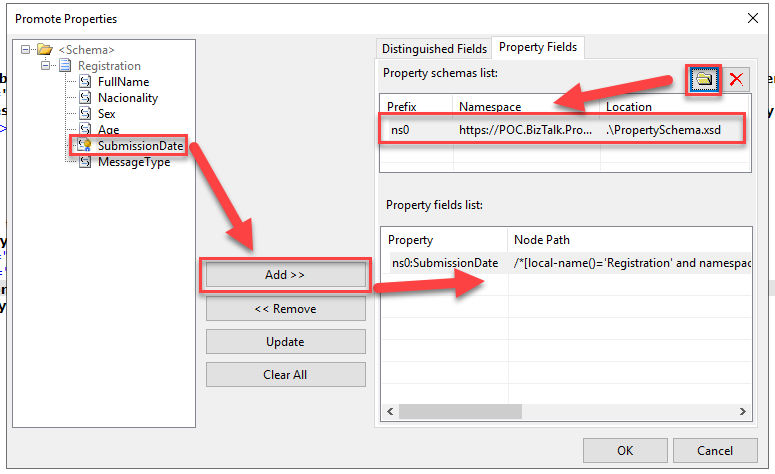
- In Solution Explorer, open the Registration.xsd schema, select the SubmissionDate element, right-click and then select Promote, and then click Show Promotions.
- The Promote Properties dialog box opens with the selected node showing as selected in the schema tree on the left side of the dialog box.
- In the Promote Properties dialog box, select the Property Fields tab.
- In the Property Schemas List section, click the Folder icon. The BizTalk Type Picker dialog box appears.
- In the BizTalk Type Picker dialog box, navigate to the appropriate property schema (that you may have created in step 1), select that schema, and then click OK.
- Now from Promote Properties dialog box:
- Select the SubmissionDate element and click Add>>.
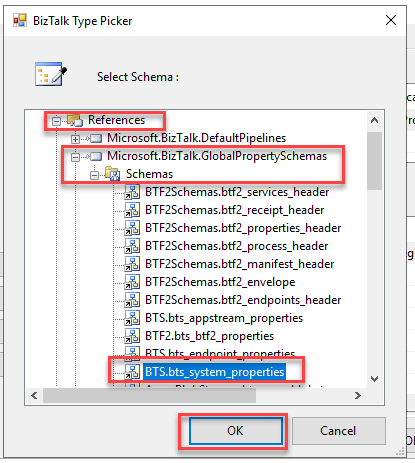
- Now, once again, from the Property Schemas List section, click the Folder icon. In the BizTalk Type Picker dialog box:
- Navigate to References > Microsoft.BizTalk.GlobalPropertySchemas > Schemas
- And select the schema BTS.bts_system_properties – this schema contains the MessageType property.
- And then click OK.
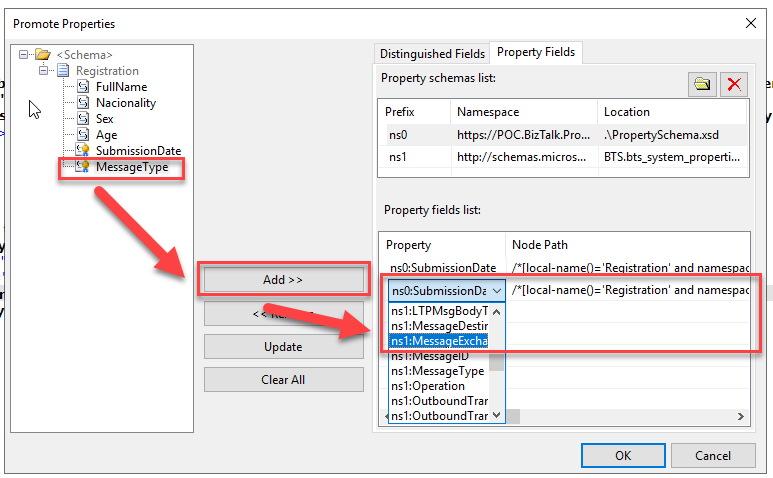
- Now from Promote Properties dialog box:
- Select the SubmissionDate element and click Add>>.
- On the Property fields list panel, make sure you correlate this MessageType to the MessageType from the BTS.bts_system_properties schema
- And then click OK.
Note that:
- The context property type must also be of the same type as the element you want to populate.
- And again, you can use properties from standard and custom schemas.
The last step is to create a map to transform this Person inbound schema into the Registration outbound Schema. The map is quite simple, and I’m not going to explain how to do it:
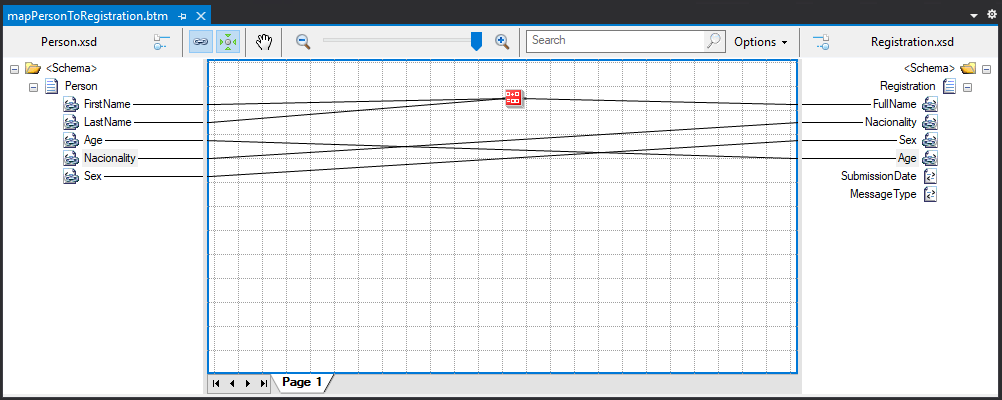
Except for the required step for the last two fields where we want to apply the Property Demotion strategy. If you leave the map as is, the two elements will not appear in the final outbound message. However, the element to be populated with this Property Demotion strategy must exist in the message that is processed in the send pipeline, and the elements must be empty.
This is, in fact, a straightforward task to do on a map:
- Select the SubmissionDate from the outbound schema and on the properties panel, expand the combo box in the Value property and select <empty>

- Do the same for the MessageType element
Now we just need to deploy and:
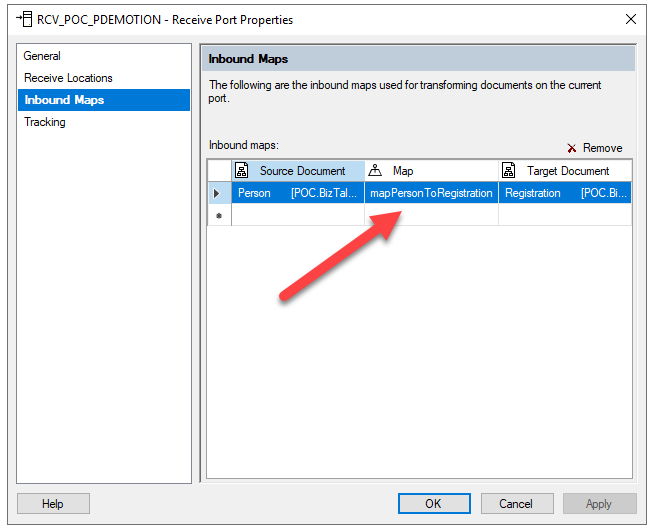
- Create a receive port/location that uses our custom pipeline that has a custom pipeline component to promote the SubmissionDate
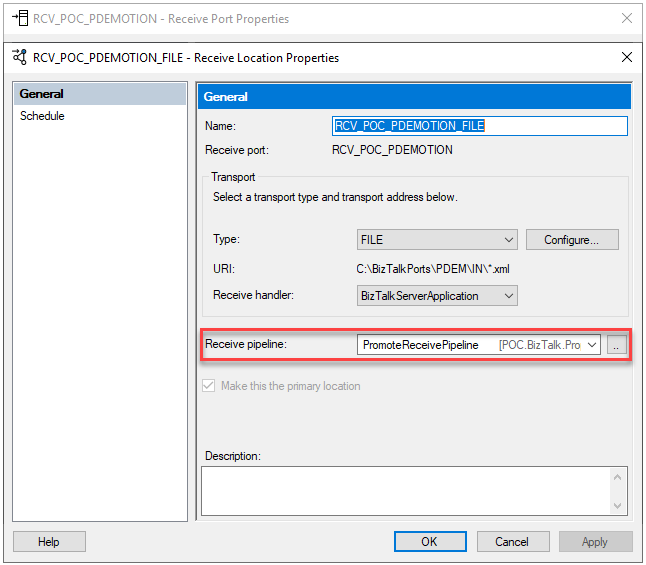
- Set the Inbound map we created on the receive port.
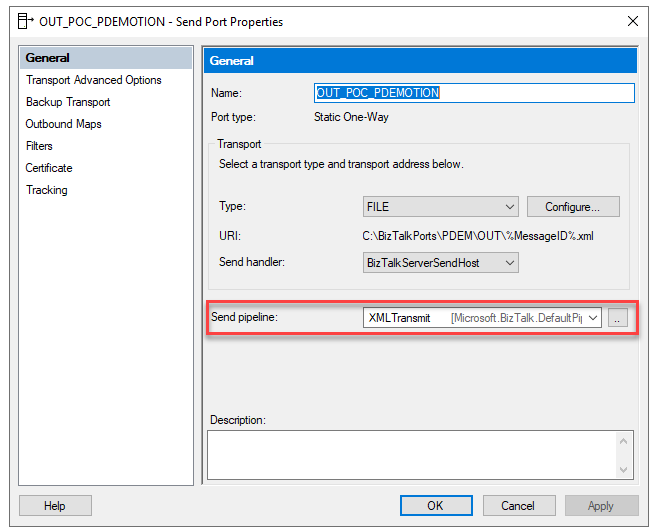
- And for last and not least, create a Send Port with a filter to subscribe to these messages and set it to use the XmlTransmit pipeline – here is where the demotion happens.
 Simple as that!
Now, if we execute, you will see that the outbound will be something like this:
<?xml version="1.0" encoding="utf-16"?>
<ns0:Registration xmlns:ns0="http://POC.BizTalk.PropertyDemotion.Registration">
   <FullName>Sandro Pereira</FullName>
   <Nacionality>Portuguese</Nacionality>
   <Sex>M</Sex>
   <Age>44</Age>
   <SubmissionDate>2022-07-20T11:16:39+01:00</SubmissionDate>
   <MessageType>http://POC.BizTalk.PropertyDemotion.Registration#Registration</MessageType>
</ns0:Registration>
You can download the full sample from GitHub here:
Happy BizTalk coding!